
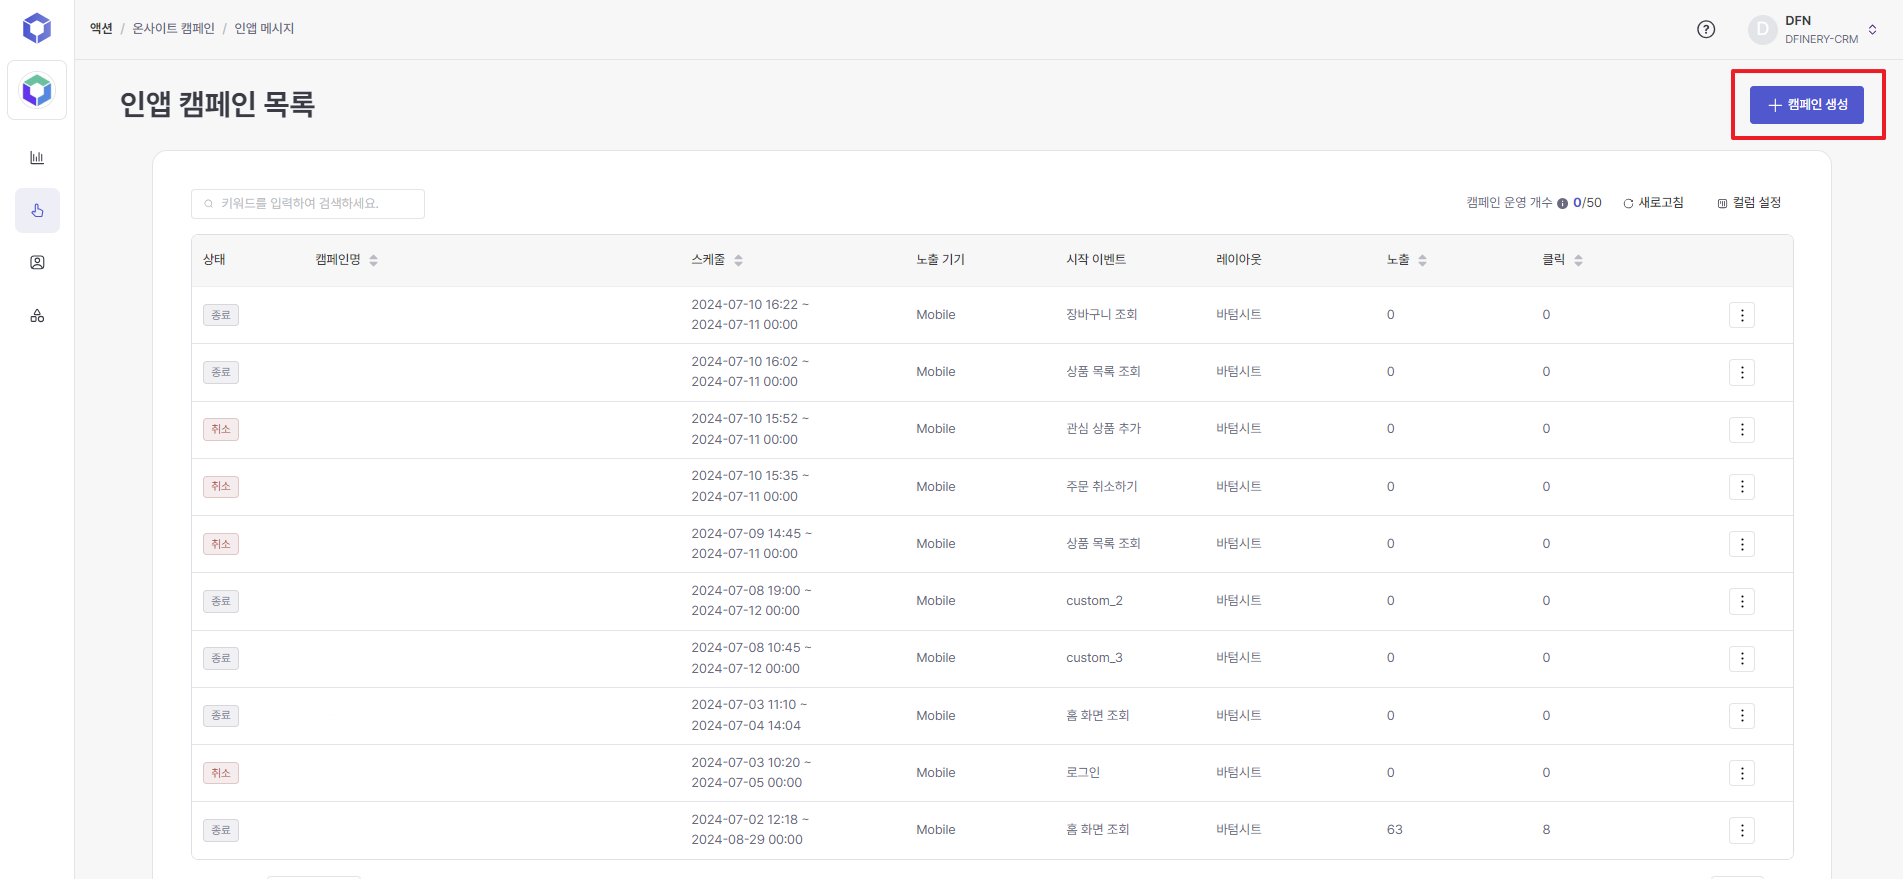
Create an in-app message
How to create an in-app message
Layout and Trigger Event Areas
Select layout
Setting up a trigger event
Move to the next step
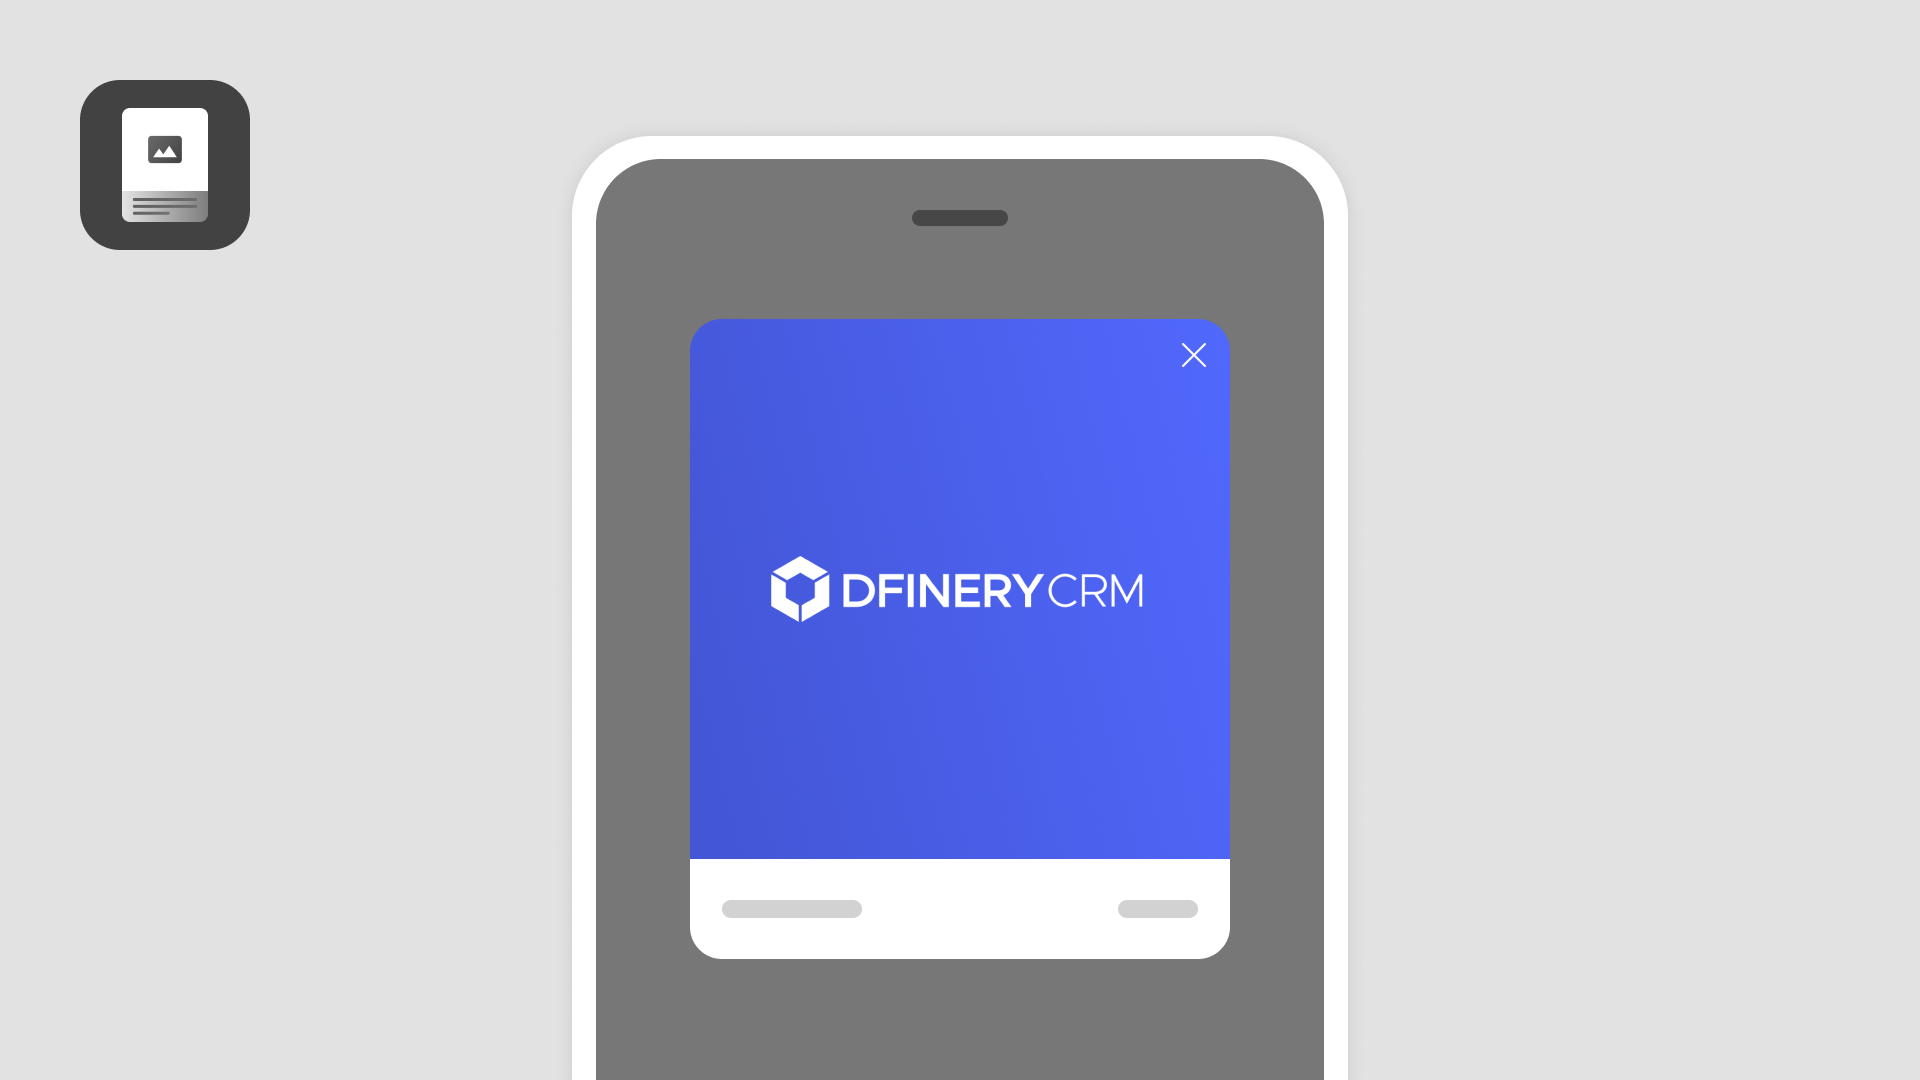
Message area
Image settings
 Image FormatRatioSizeVolumeExtension
- Link format distinctionClick pointLanding point
Button Settings
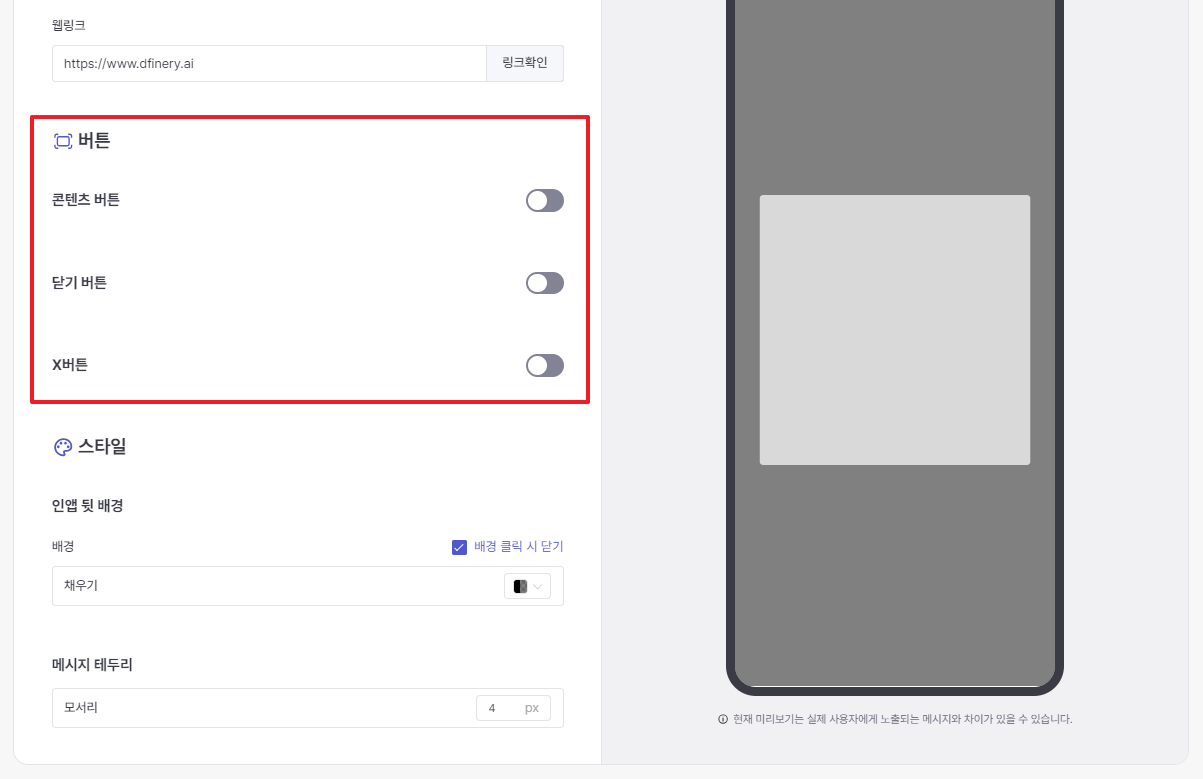
Content Button
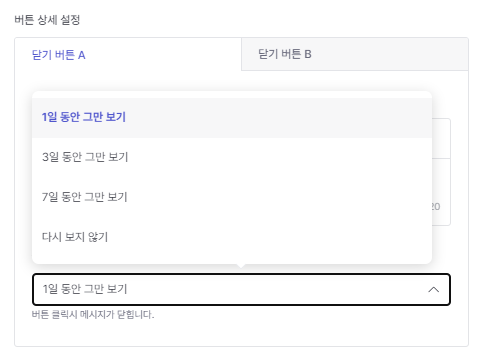
Close button
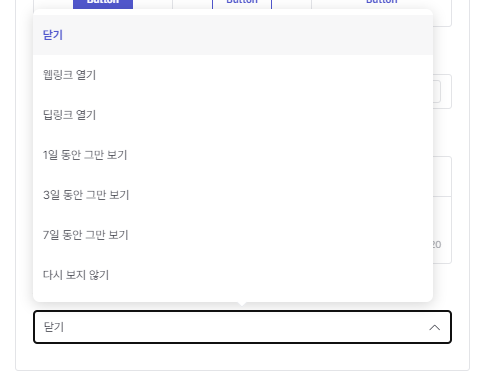
Button Detail Settings > Click Action : You can set the action when clicking the button.
X button
Style settings
Test Management
Schedule area
Set a schedule
Target Setting Area
Target setting
Conversion Tracking Settings Area
Set up purchase conversions and custom conversion tracking
Set up purchase conversions and custom conversion tracking.
To track conversions, you must specify at least one click action in your message settings.
Insert a link in the body or add a link to a button or image. For more information about tracking purchase conversions, see
Setting a Purchase Conversion Window.
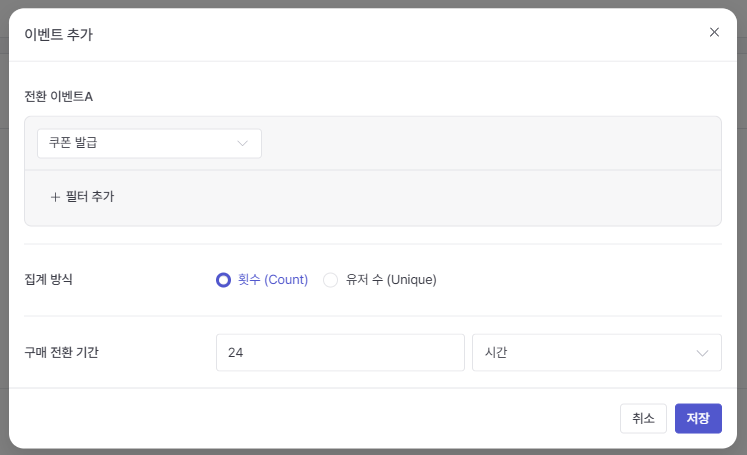
Custom Conversion Tracking
This feature allows you to add up to four events that you want to track conversions separately from purchases.
Optionally, add events as needed. Custom conversion tracking is not affected by global settings and does not compete with other campaigns.
Therefore, when a click action occurs, it is all aggregated and displayed in the detailed data screen.
Priority Setting Area
Setting priorities
Exposure policy when priorities are the same
Example
Campaign Status
Last updated